Over the past couple of months, my Instagram has grown tremendously. I almost tripled my following in a matter of months by posting Instagram Reels, which has seemed to grab lots of attention. The questions I get the most are “What app do you use to edit? How did you get that font? What camera did you use?” If you are reading this, then you probably know that I love a moody and minimal aesthetic which you will see throughout all of my content.
Aesthetics
Make it stand out
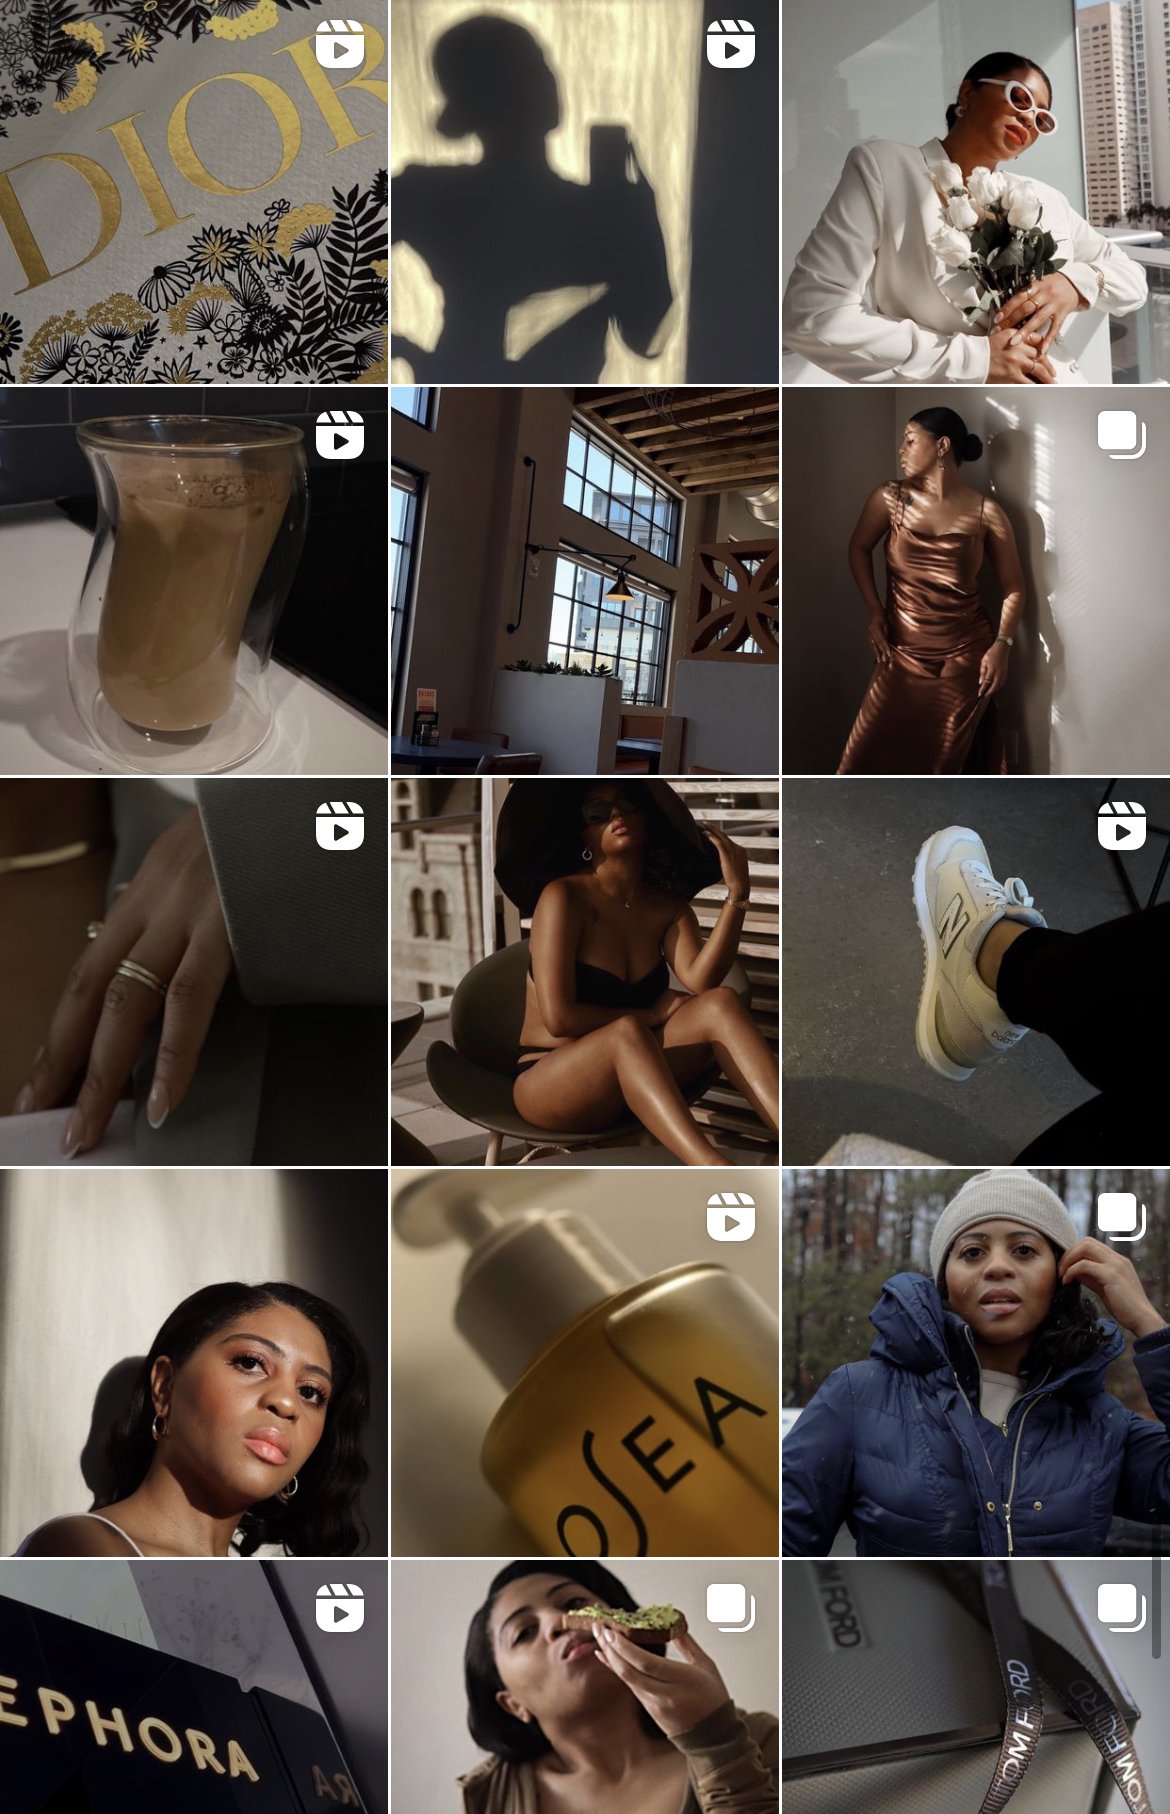
There are lots of conversations about aesthetics and whether they are important or not. I am a visual person and I love an aesthetic feed. You will notice I have darker tones and moody vibes. It took a while to get the vibe I wanted and not feel limited when it comes to what I create.
Also, my aesthetic is my lifestyle. My closet is mostly tans, beiges, and neutral tones. My home decor is neutral tones. as well. This makes it easy for me to shoot content because I am not trying to create an aesthetic. The aesthetic is already there. When I am shooting outside or in public places, I choose a background that fits my feed. Neutral backgrounds or aesthetic backgrounds. Also most of my photos are shot in natural sunlight during golden hour. This helps to create that warm tone on my feed.
Presets
When it comes to presets, sometimes I use them and sometimes I don’t. Presets can be tricky especially when it comes to skin tones. A preset that may look good on lighter skin tones may not look the same on those with a darker skin tone. My favorite preset are those by @micahgianelli. I love the warm tones in her photos. I do have the adjust them to match my skin tone but so far they have been the most natural to me. Also Adobe Lightroom Pro has presets that are based on skin tone, Light, Medium, and Dark. Those have been great for natural editing.
Tools
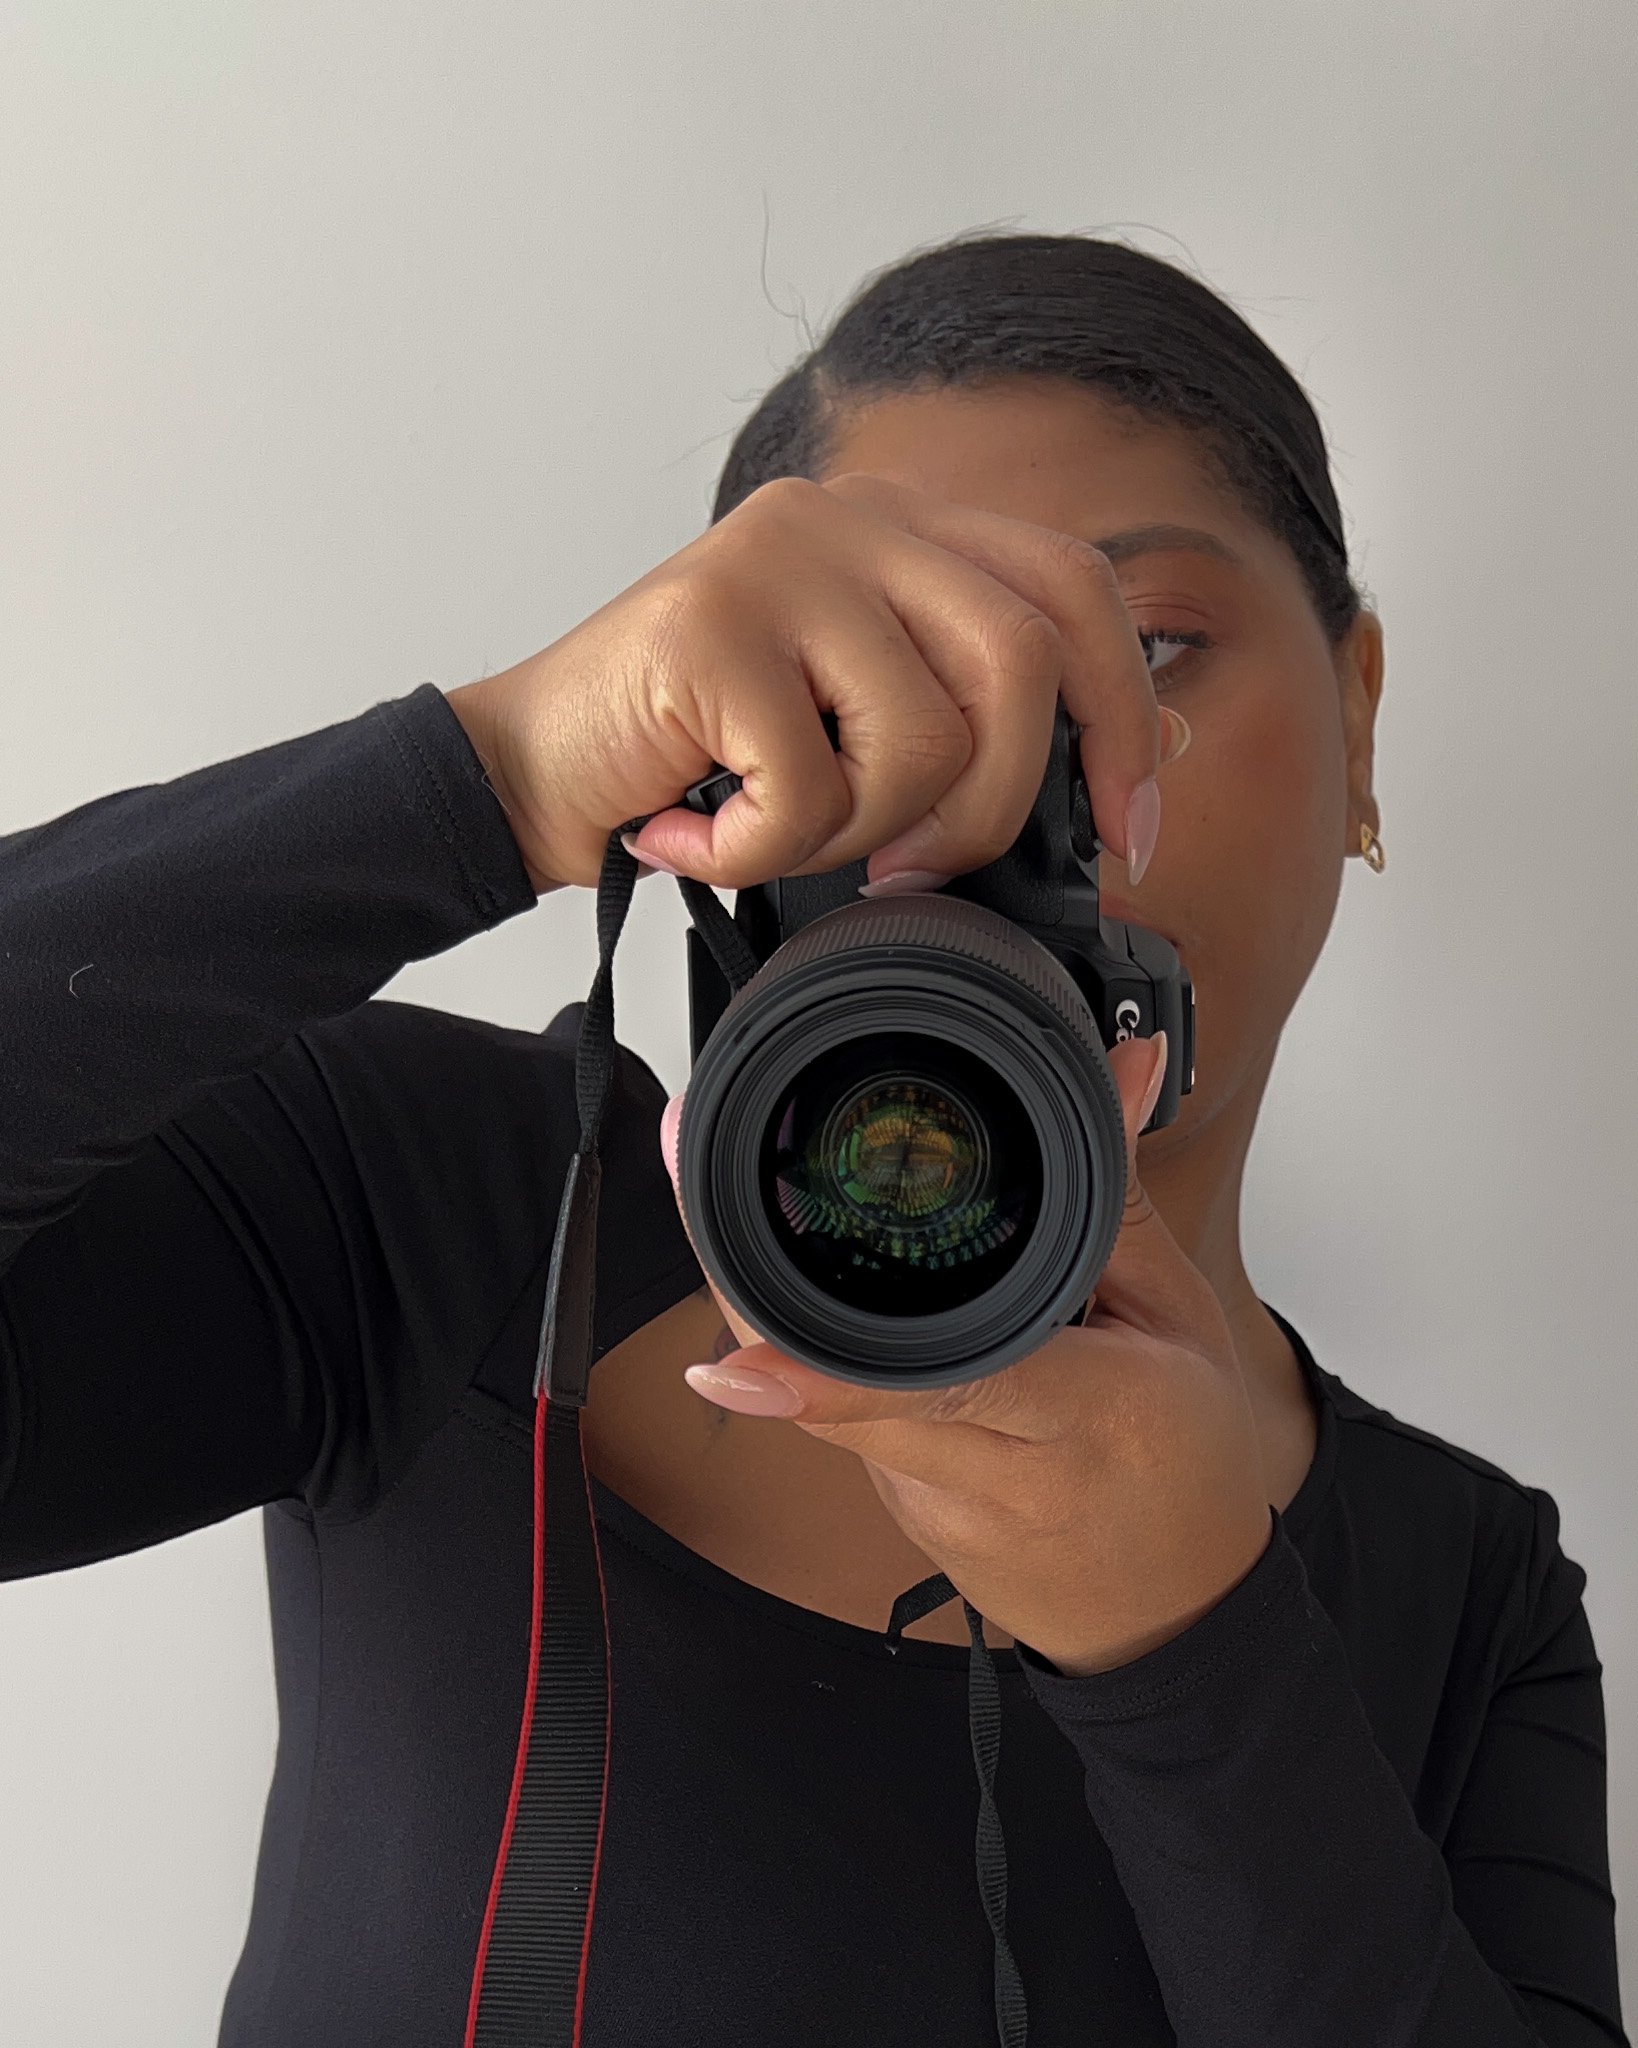
Canon EOS M50
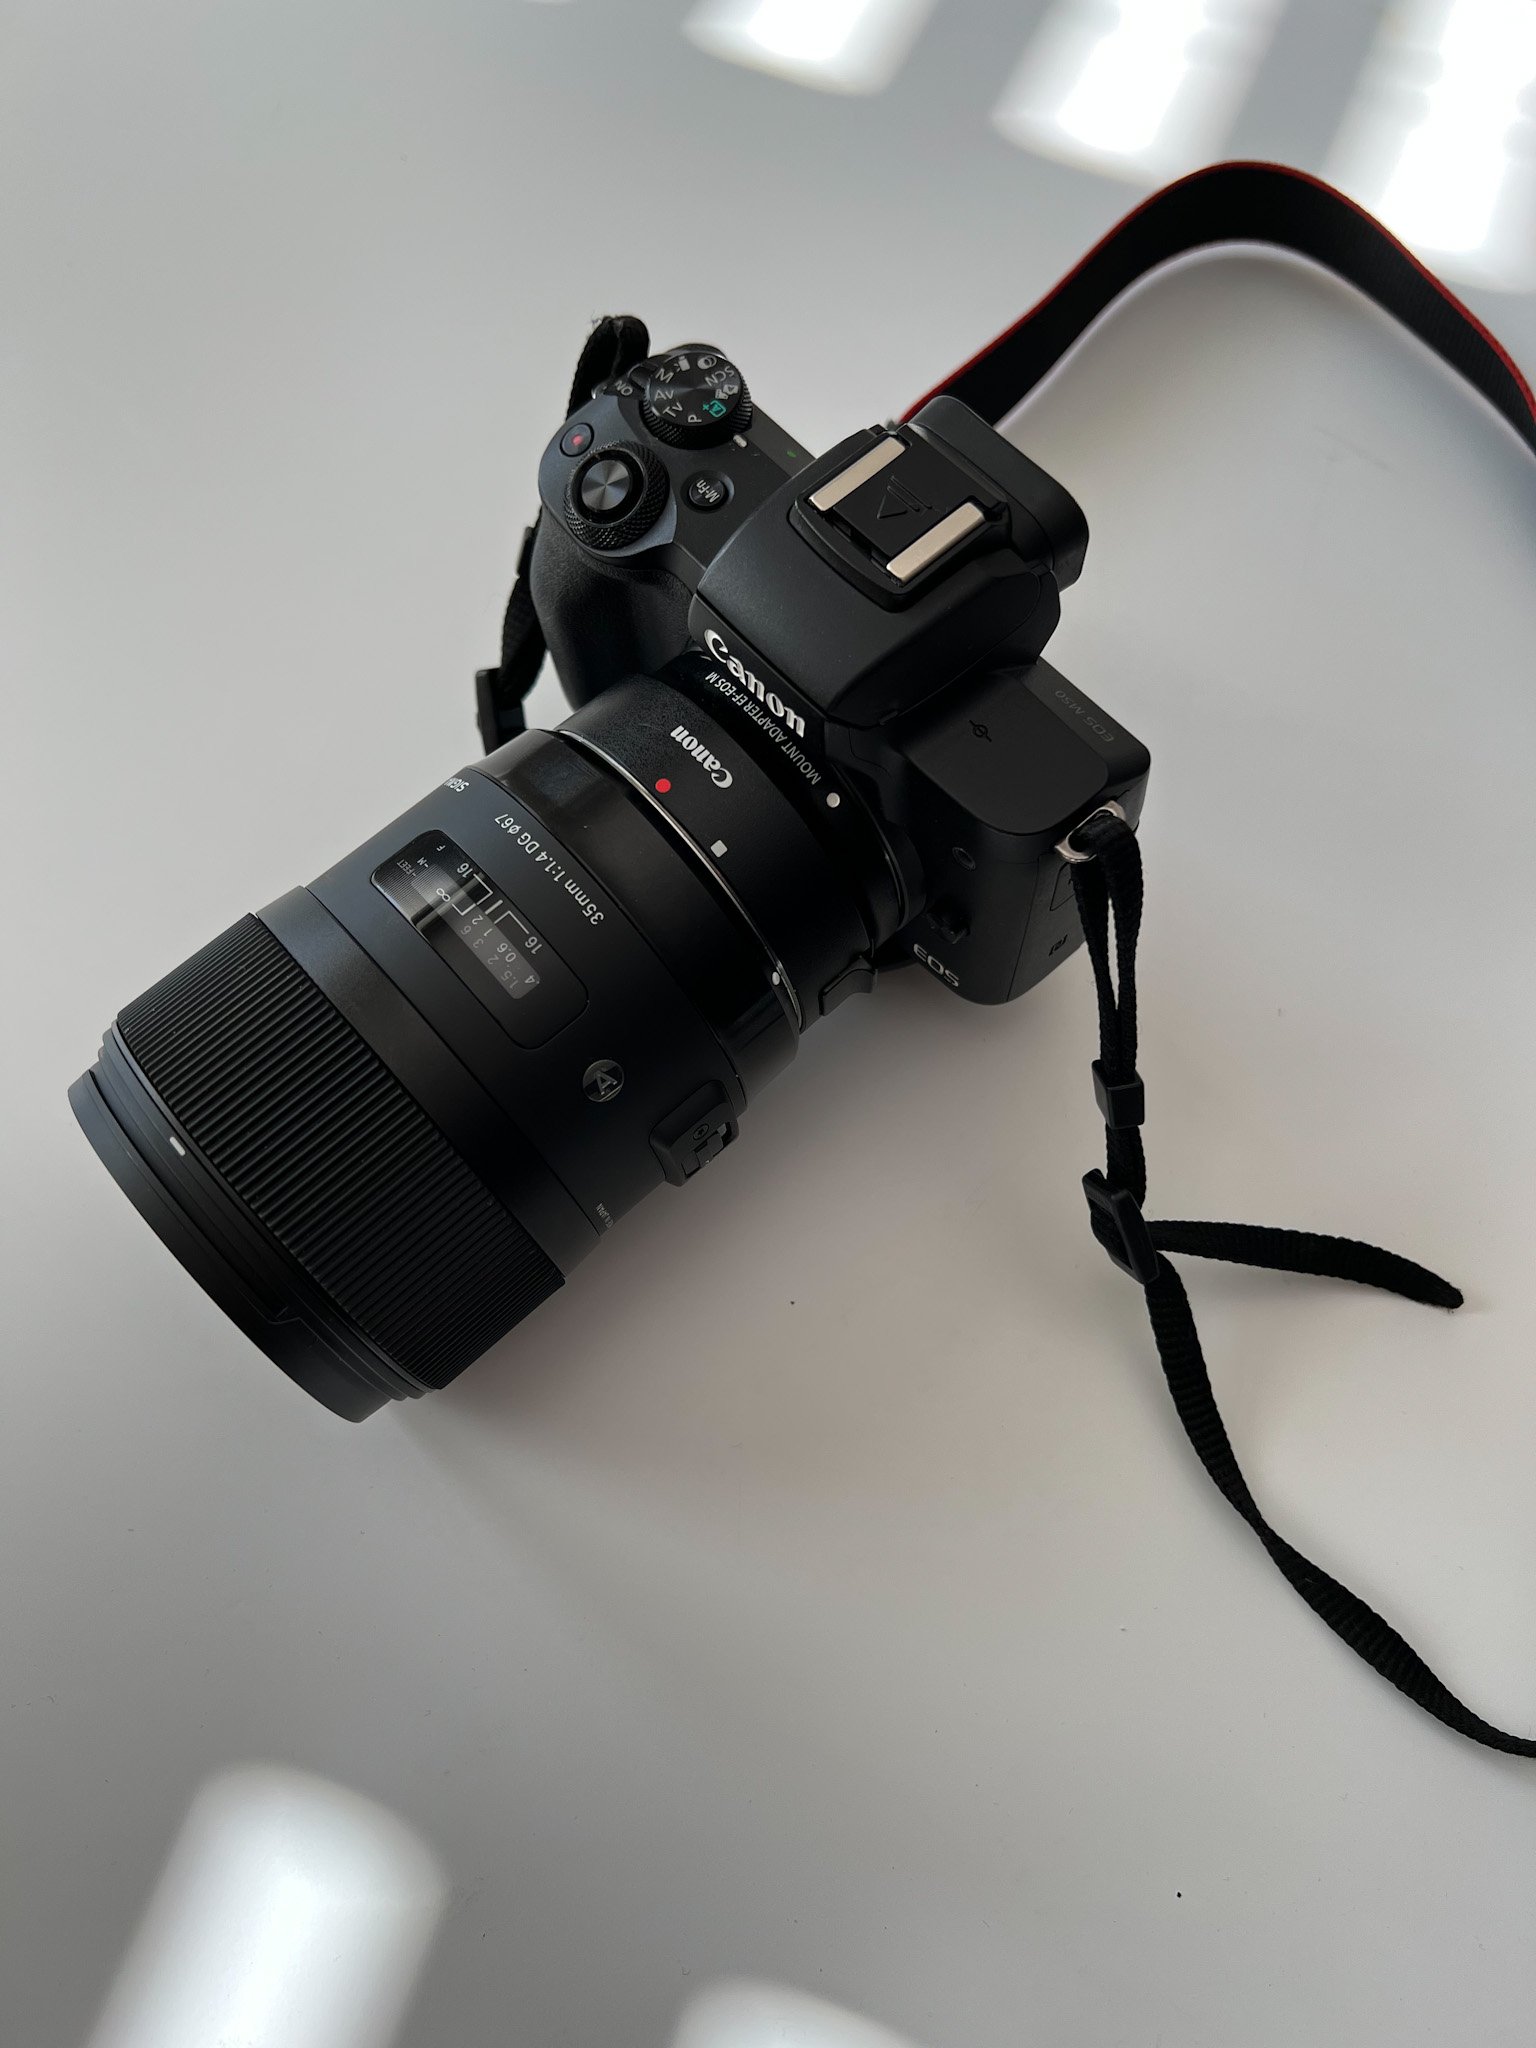
I use the Canon EOS M50 Mirrorless Camera. The one I use is no longer available as a newer version is out but this one works just fine. I just switch out the lenses. I use my camera to shoot photos and to shoot high quality, editorial style Reels and Videos.
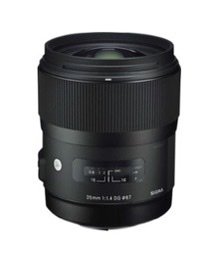
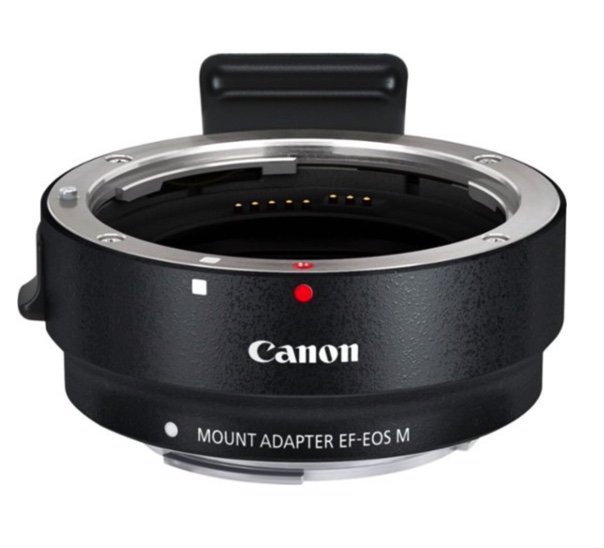
My Primary Lens is the 35mm Sigma Art Lens. I use this for most of my Reels and photos. For up close shots, I use the Canon 50mm lens. It is reasonably price and captures great up close shots with a blurred background. One thing about using the Canon M50 is is uses lenses with a EF-M mount to use other lens you would have to purchase a lens adapter. The adapter used with another lens can make the camera feel a bit heavy, so it’s important to get a sturdy tripod. I purchased from this one from Amazon. It is heavy and stretches up to 67”.
Shop My Tools


Using Your iPhone
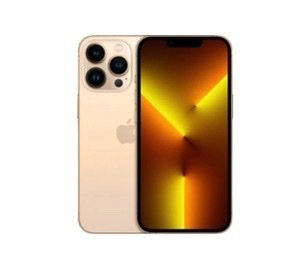
iPhone 13 Pro
Don’t count your iPhone out! Your iPhone can create high quality content especially video content. I use my iPhone to create Reels and on the go photos when I don’t have my camera. There are a few iPhone settings you should know about for a higher quality.
iPhone Settings
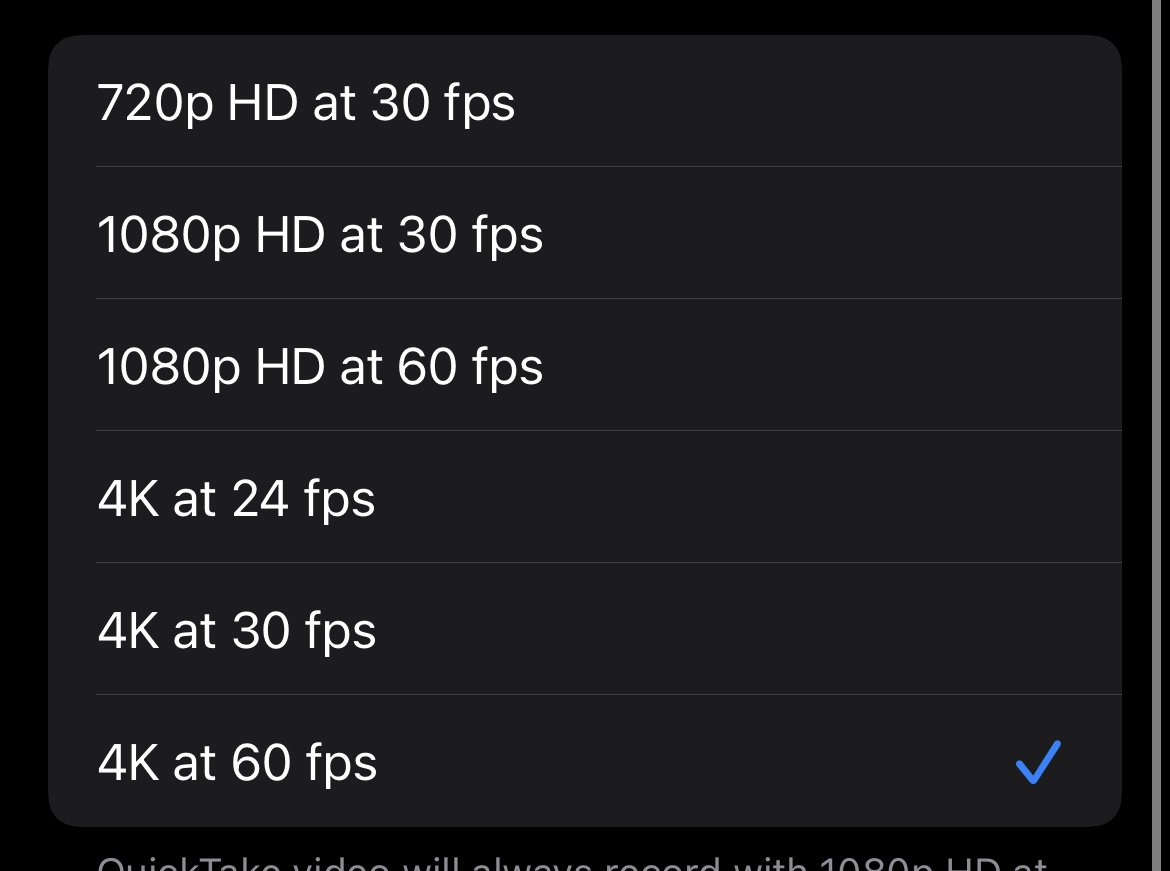
When using your camera to record video, your camera should be at 4k at 60fps. Settings > Camera > Record Video > Select 4k at 60fps. So your settings should look something like this…..
Editing Reels/TikTok
Most of my video content includes minivlogs and editorial style reels if I’m trying to showcase a product. My minivlogs are typically aesthetically pleasing and moody. One of the questions I get is how to make them dark and moody. It’s easy, you simply lower the exposure before or after recording. To do that, you simply tap the focus on the screen. There should be a yellow sun that you should be able to move up and down. Move it down to your desired exposure, which should look like this…

When editing minivlogs for Reels/TikTok, there are no special transitions used. The clips are usually between 0.3-0.7 seconds so they frames change so quickly that a transition isn’t really needed. Capture what’s important and move on to the next clips.
Editing Apps
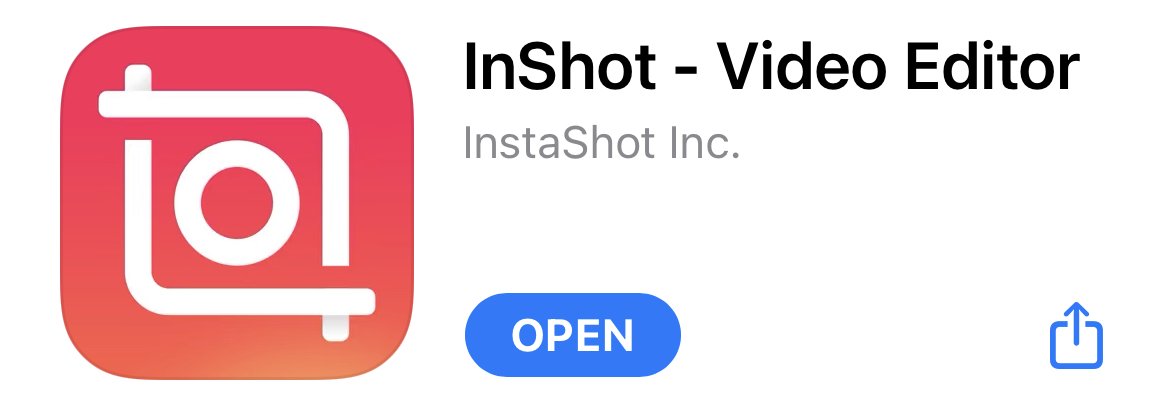
My primary editing apps are Videoshop and InShot. I use VideoShop for Transitions as they have several to choose from. My minivlogs are all clips that I have recorded on my iPhone, then uploaded and trimmed into smaller clips on Videoshop. InShot has several features but I love the text on InShot, which what you see at the beginning of my minivlogs.

Download on iOS or Google Play
Download on iOS to Google Play
Using Canva
The possibilities are endless when it comes to using Canva to create content. You can use it to create Instagram Stories, Instagram posts, add text to videos, create blog posts, and much much more. I use Canva when creating aesthetic stories or if I simply want to use a funky text for a Reel. The Pro version definitely gives you much more variety. It’s an app that I encourage all creators to have to explore your creativity.
Download on iOS or Google Play
When creating content, it’s important to find an aesthetic that resonates with you and create content you are passionate about. No matter how pretty an aesthetic looks or how much you love another person’s content, trying re-create something that doesn’t fit your lifestyle, will more than likely cause you to give up creating easily. When you create things you love, it pushes you to keep going!
I want to add that I do not offer 1:1 sessions, nor do I offer content creation services for other creators. I simply love to create things I’m passionate about and for right now, I don’t have a passion to teach others. I am however, willing to share what I know and the tools I use to produce my own content. Thank you all for continuing to support me and show your love! I appreciate everyone!
-Yasmine
Love all of these tools! Excited to get the Canon M50 sometime this year.
I hear a lot of people say it’s a good "beginner" camera but honestly don’t think I will use anything else.
I am soooo proud of you Yasmine!! This made me smile all the way through! Nothing but waaay up from here 💗💗
Thank you so much!
THANK YOU SO MUCH FOR JUST BEING YOU♥️✨ THIS WAS VERY HELPFUL!!
I’m so proud of you sis! Thank you for compacting all your helpful tips and gems all in one blog post!! Congratulations on all your success Yasmine! I love watching you kill it. Now, let me head over to place my orders for these must have content tools!!!
I love how helpful and genuine this article is! Inspiring people to create while telling them to be true to themselves. Love it!
Thanks. This article was very helpful!
This has been very very helpful thank youuu
Wow this was so amazingly valuable thank you so much for sharing! I still cant believe it was free. Love your content and the value you add🖤
Thank you!